 |
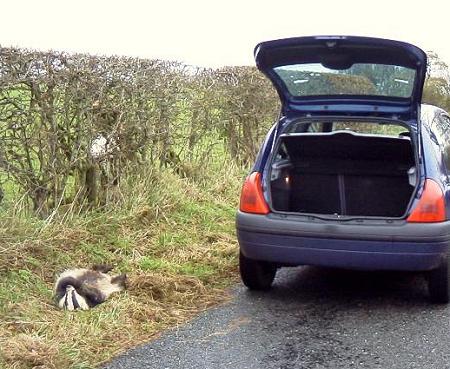
Stage 1.
Careful ! Other drivers won't be expecting to see you doing this, and you (or they) don't want to end up as roadkill too.
Careful too, because all animals in the UK (and most other countries) are protected by various types of legislation. It's OK to own parts of wild animals if obtained legally but if challenged you need to be able to explain how a protected species came into your possession. The best defence is to keep detailed notes of where and when your specimens were obtained and link up with other collectors or professionals. |
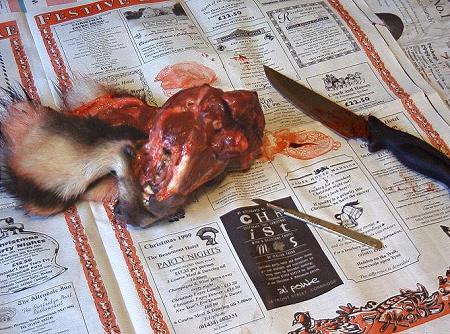 |
Stage 2.
Remove the skin, tongue, cheek muscles, any vertebrae which remain attached, perhaps brain & eyes. Or you may prefer to wait until after the boiling, or even after the maceration.
Its up to you - but don't risk damaging the skull by trying too hard to remove flesh from delicate areas such as the nostrils or underside.
|
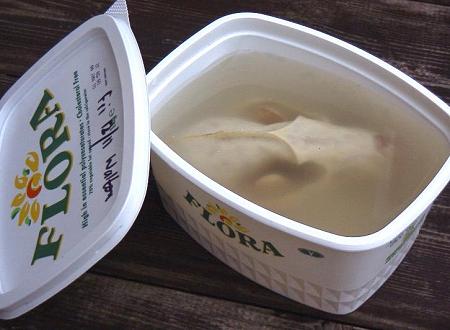 |
Stage 3.
After boiling for 30m to an hour, remove any flesh which comes away easily, and place the skull underwater in a suitable container, in a warm place.
This badger's skull has been macerating for 3 days, and the water is beginning to cloud. Yuk! After 5 days, the remaining flesh had dissolved or fallen off, leaving a perfectly clean, if rather smelly skull. |
 |
Stage 4.
Perfect turbinals = perfect processing.
After removal from the maceration tank, the skull needs to be thoroughly rinsed, perhaps briefly boiled to remove all remaining flesh. Then any chemical processing such as bleaching and degreasing, and gluing back of loose teeth and bones. |
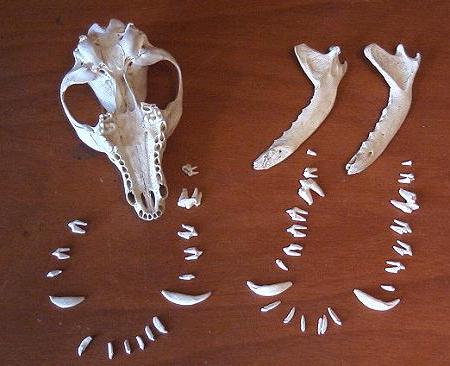 |
Stage 5.
Loadsateeth.
This fox skull has been successfully macerated, during which nearly all the teeth have loosened and the jawbones have parted. I usually lay out the teeth in order as I remove them, to make the job of replacement easier.
Which glue ? It is common practice in museums to use a glue which can be unglued in case parts are required to be removed for research. PVA fits the bill here as it softens in water and does not stain. |
|